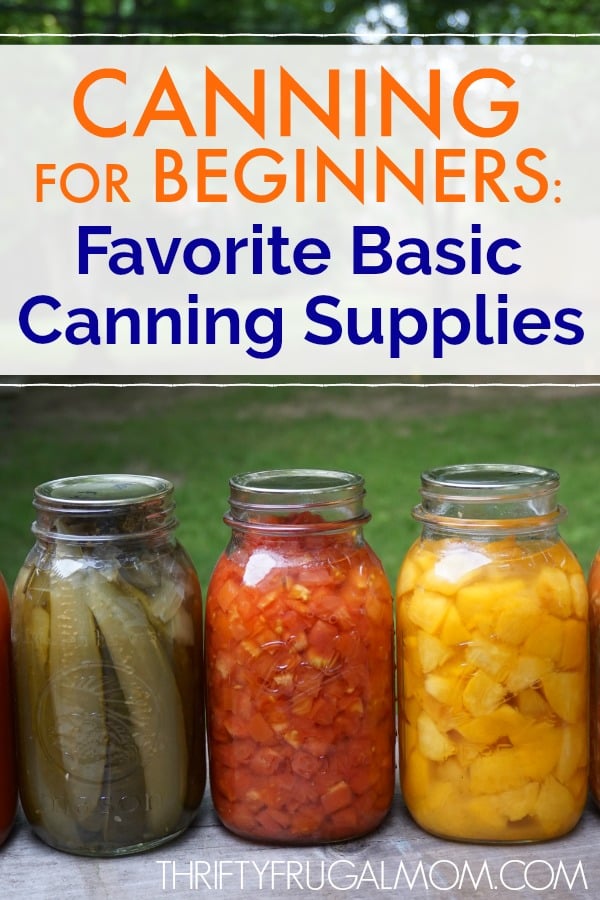
Not sure what equipment you’ll need to get started home canning? Here are the best basic canning supplies that I recommend for water bath canning and pressure canning.
There are affiliate links in this post. As an Amazon Associate, I earn from qualifying purchases. Please read my full disclosure policy.
I was lucky enough to grow up in a family where the art of canning was passed from one generation to the next. Even as a young girl, every summer and fall I helped my mom can and freeze hundreds of quarts of fruits and vegetables.
I loved going down to our basement’s root cellar and seeing all the pretty jars of freshly preserved foods lined up on the shelves. I also obviously didn’t mind the pleasure of consuming the results of our work, either! 🙂
I understand though that if you are just learning how to can, it can be overwhelming to know exactly what supplies you’ll need to do the job.
In fact, even though I was familiar with canning, I felt a little unsure of what all to buy when I got married and started wanting to can on my own.
I still remember the first time I went to can tomato juice and realized that I didn’t own a funnel. Pouring the juice into the jars without one just resulted in a big tomato-y mess, so I had to drop everything and run to the store to buy myself a funnel so I could finish the job!
That’s why I compiled this list of my favorite basic canning supplies.
Other than things like fruit pectin (if you are canning jelly), citric acid or lemon juice (if you are canning tomatoes), canning labels (if you want something prettier than masking tape), and of course any containers to hold your produce, this list should pretty much cover the things that you’ll need to begin experimenting with the art of canning yourself!
And while initially, it might feel like you are buying a lot of things, after the initial investment, you are pretty much set to go!
Best Basic Canning Supplies- my favorites
1. Canner
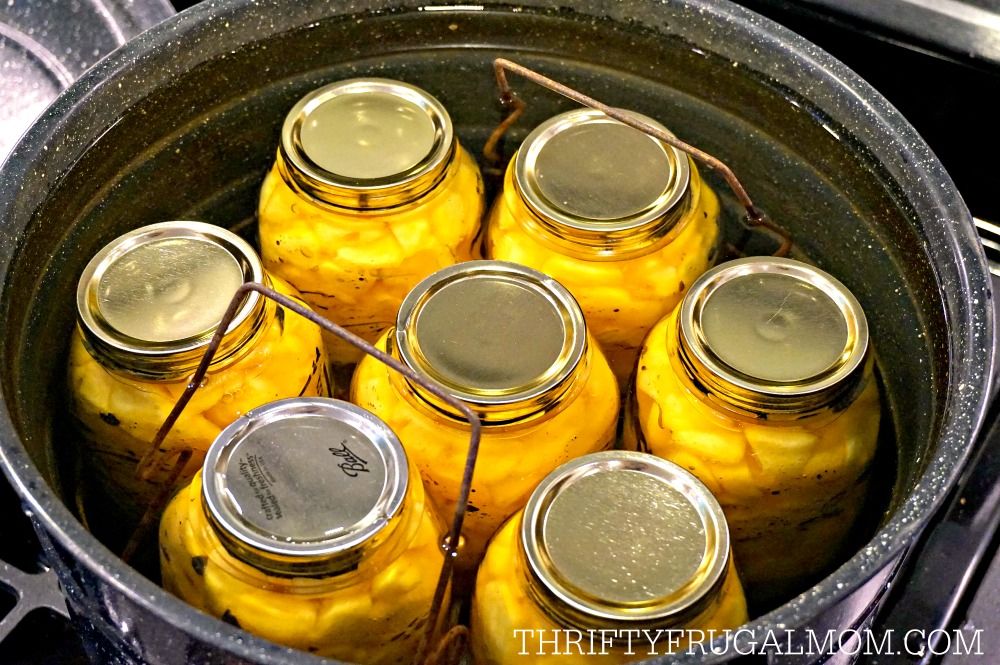
There are two different kinds of canners that you can use.
Water bath canners are the most common and often feel the least scary to someone who is just starting out canning.
This kind of canner is basically a big stockpot with a rack in the bottom that holds the jars in place and keeps them from bumping against each other and breaking.
Depending on the size of pots you already own, you may be able to just buy a canning rack instead of a full canner.
A water bath canner is used for canning high-acid foods like fruits, pickles, salsa, tomatoes, applesauce and jelly.
A pressure canner is a bit more complex and has a vent, sealing ring and pressure gauge, allowing it to seal tightly and cook things at a higher temperature.
As a result, it is used to safely can low-acid foods such as vegetables, meats and stock/broth, which all have the potential to carry botulism spores and cause severe illness if not canned at this higher temperature.
You can also use a pressure canner to cook high-acid foods, but I prefer using a water bath canner whenever possible because it is so much faster and less complicated.
2. Canning Jars
Obviously, you need something to put your food into to can it, right? 🙂
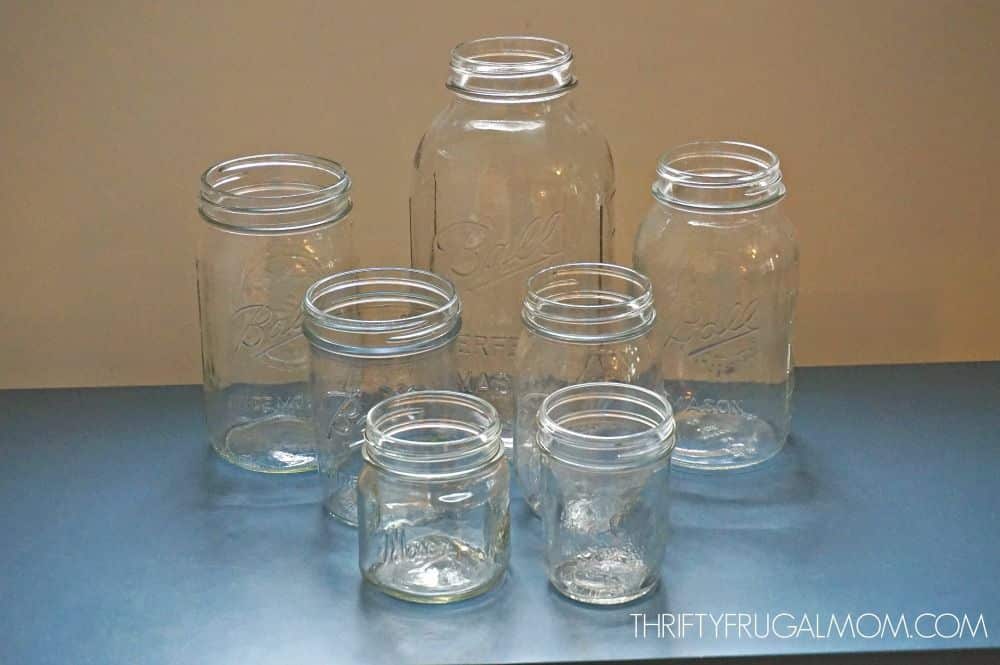
Jars come in a variety of sizes (half pints, pints, quarts, half gallons) and have either regular mouth or wide mouth openings.
The two main brands of jars are Kerr and Ball and both have a good reputation of producing quality products.
I find that I use regular mouth jars the most. Some of the things that I can in them are tomato juice, applesauce, diced peaches, pickles and salsa- basically, things that are easy to get out and don’t leave the jar hard to clean.
I do like wide mouth jars for canning soups and meat simply because those things tend to leave the jar dirtier and it’s much easier to clean the jar thoroughly when you have a wider opening.
Wide mouth jars are also the best if you can peaches in halves instead of dicing them because the wider mouth makes it easy to get the half in and out.
3. Canning Lids and Bands
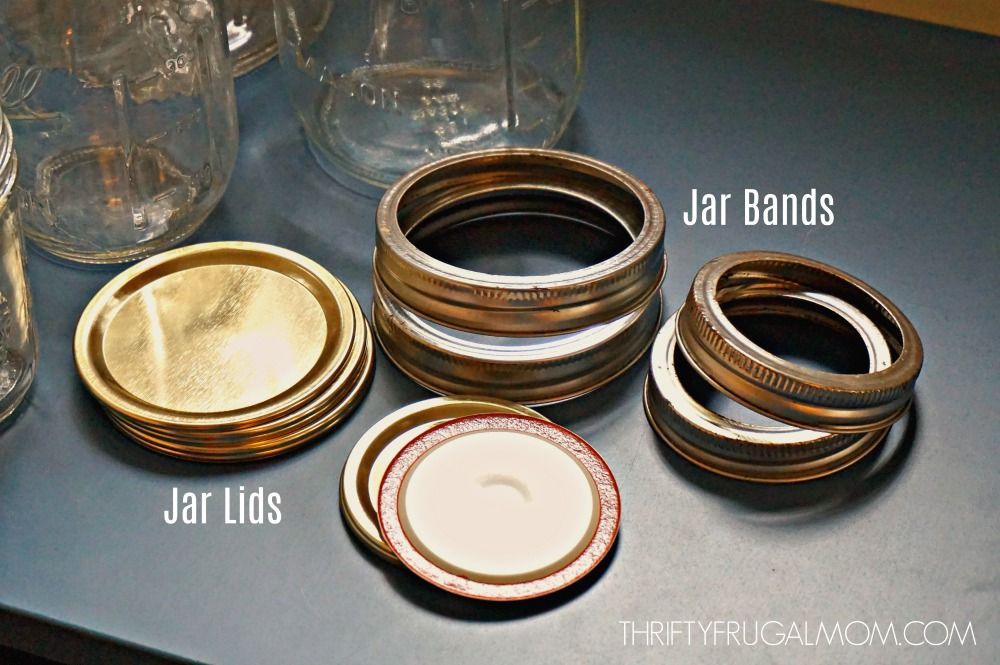
Canning lids are a thin metal lid with a rubber seal that goes on top of the jar and ends up sealing the jars once canned.
Jar bands are ring-shaped and are used to screw the canning lid tightly in place while canning.
If you buy your jars new, they typically come with both canning lids and bands. But of course, as you continue to can, you’ll need to buy more lids and eventually more jar bands too.
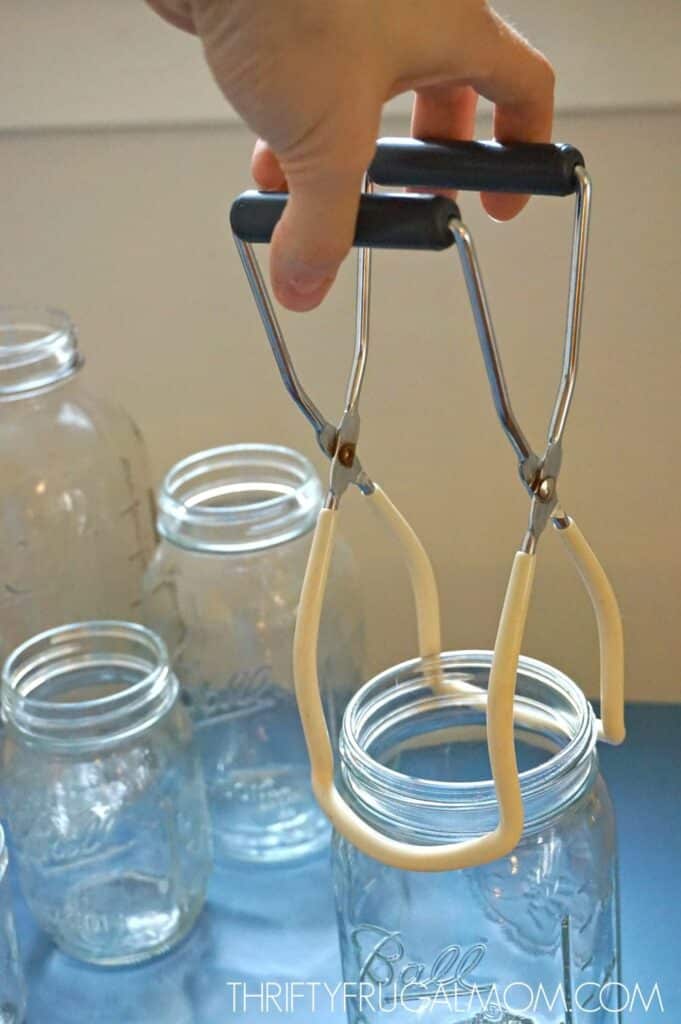
4. Jar Lifter
Taking boiling hot jars out of the canner is made easy thanks to a jar lifter! I love that it fits any size jar too. In my opinion, this is a must-have canning item!
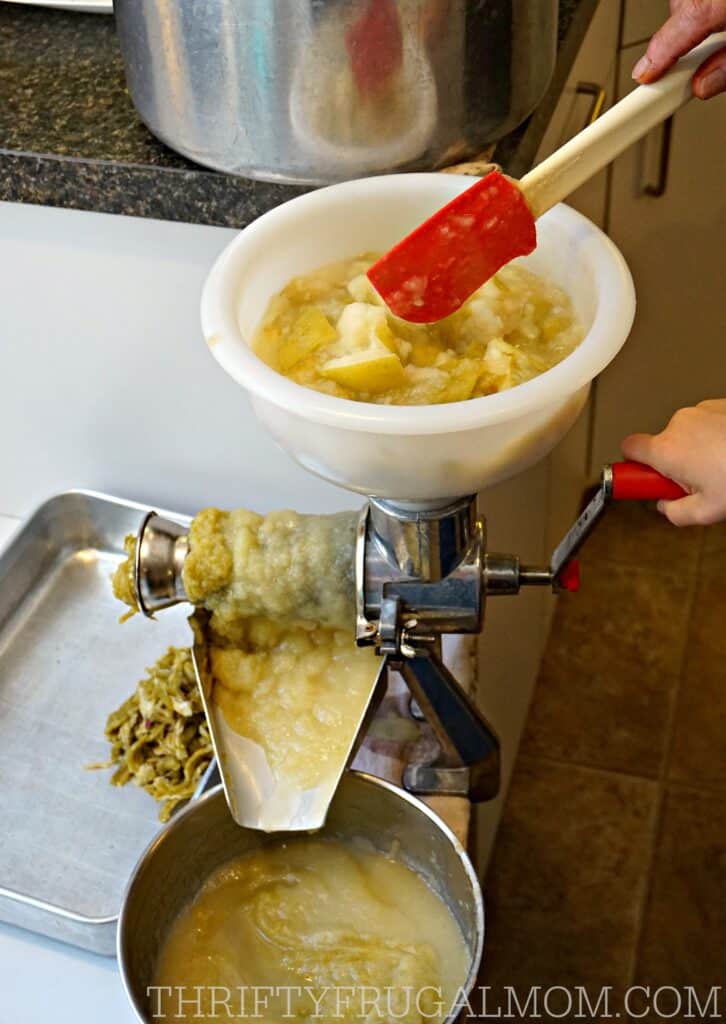
5. Food Mill or Victorio Strainer
If you plan to can tomato juice or homemade applesauce, then having a food mill or Victorio Strainer will save you a lot of time since both tools quickly remove skins and seeds, leaving you with just the juice or applesauce that you want!
Both tools produce the same results, but the Victorio Strainer typically does the job more quickly.
However, if you are planning to use it to make juice, it does splatter quite a bit and can be a little messier. (But if you don’t mind wiping things up a little, it’s worth it in my opinion!)
If you are going to be just doing small amounts of canning and don’t mind working a little harder (basically that means turning a handle more often), then the Food Mill will likely easily meet your needs.
A food mill is also less messy when making tomato juice…but it will take longer than a Victorio Stainer to get the job done.
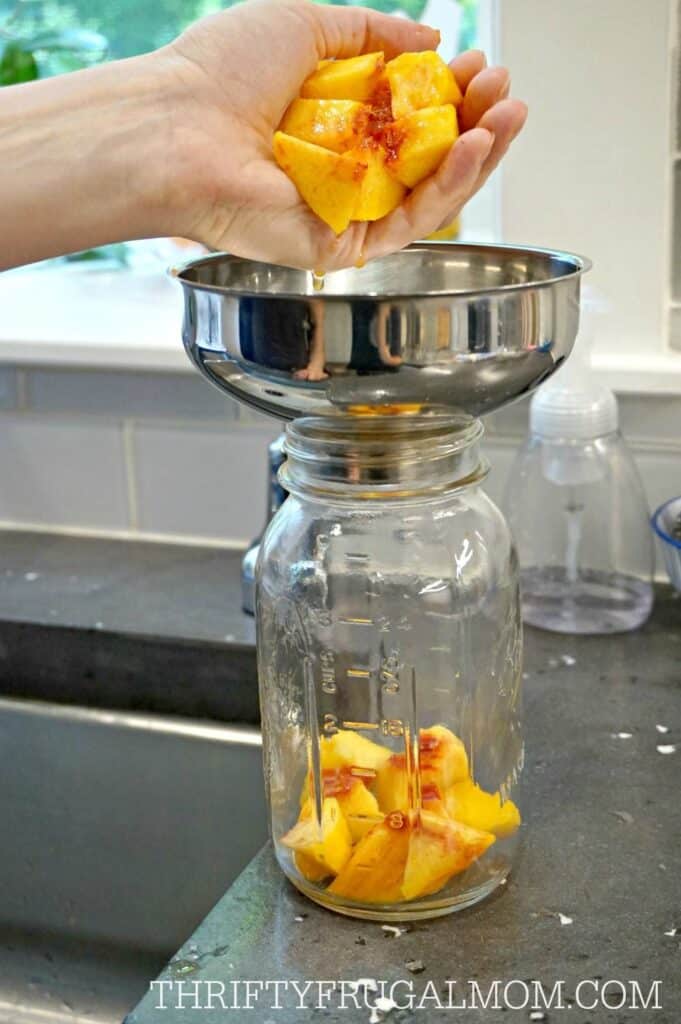
6. Wide Mouth Funnel
A funnel isn’t a must for canning, but it sure makes things a lot easier when you are canning things like tomatoes and peaches (at least if you can peaches like I do in bite sized pieces).
It’s pretty annoying when you are trying to fill jars with slippery things like that and a funnel simplifies things a lot!
This simple plastic funnel is super inexpensive and works well (that’s what my mom uses), but if you’d rather not use plastic, I love this metal funnel too (it’s what I use)!
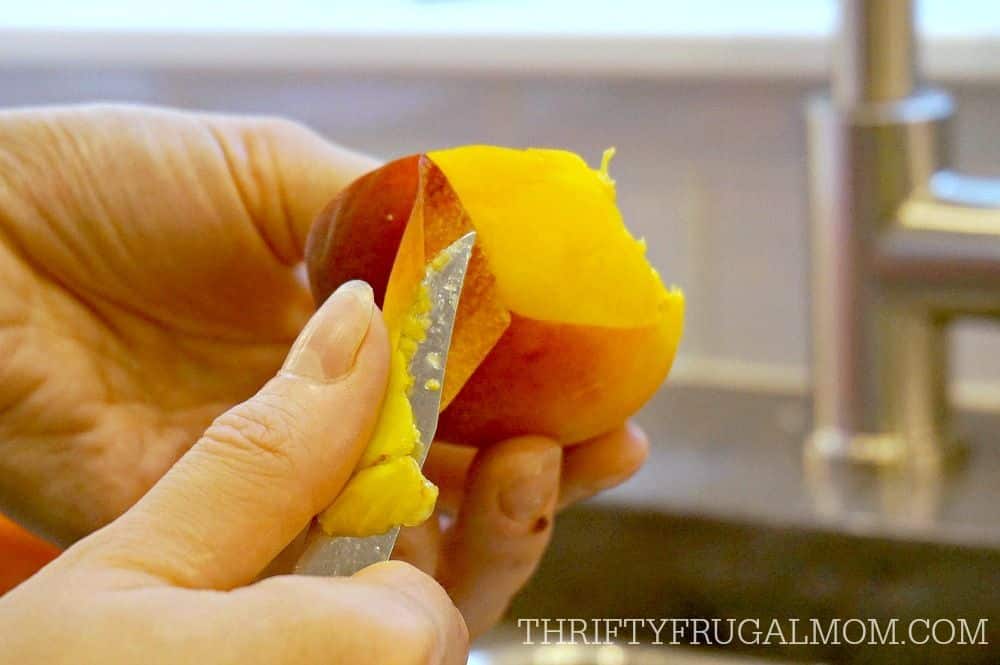
7. Knife
When prepping your fruit and vegetables for canning, a good knife goes a long way in making the job enjoyable!
I love the quality and price of Rada brand knives and use their paring knives all the time.
And this serrated tomato-slicing knife is my favorite! It makes slicing tomatoes, cucumbers, onions, peppers and more a dream.
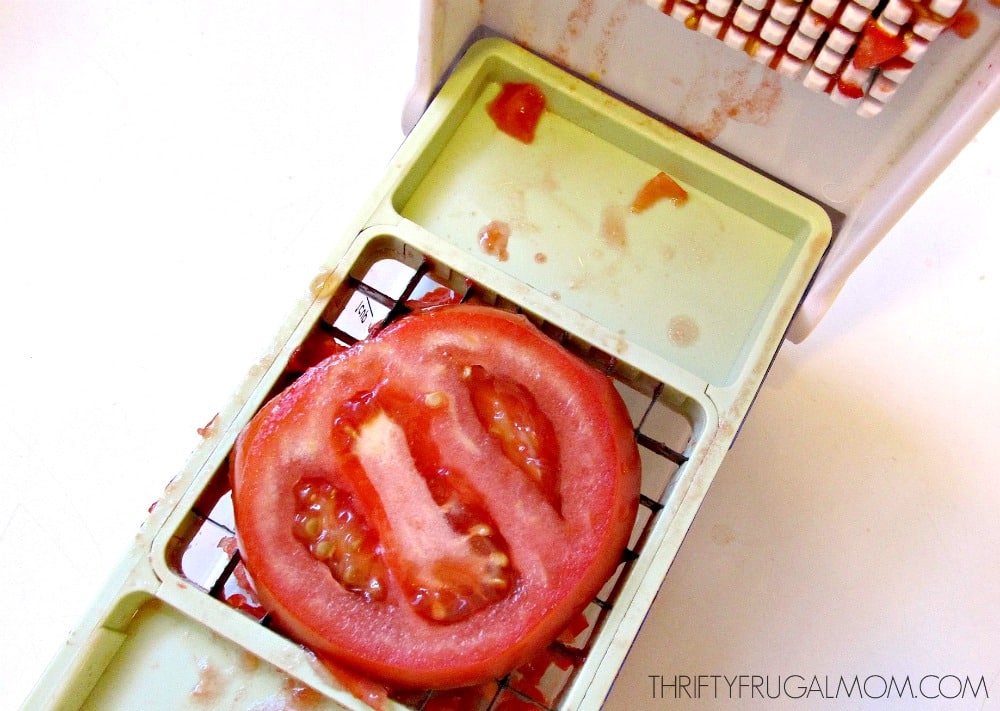
8. Vidalia Chop Wizard
This Vidalia Chop Wizard is one of my absolute favorite kitchen tools!
I love using it to dice tomatoes, onions and peppers when I’m canning salsa or diced tomatoes and it also works well for dicing potatoes and carrots for things like vegetable soup.
Even when I’m not canning, I find myself using this tool often, especially during cooler weather when I’m constantly chopping veggies for soups.
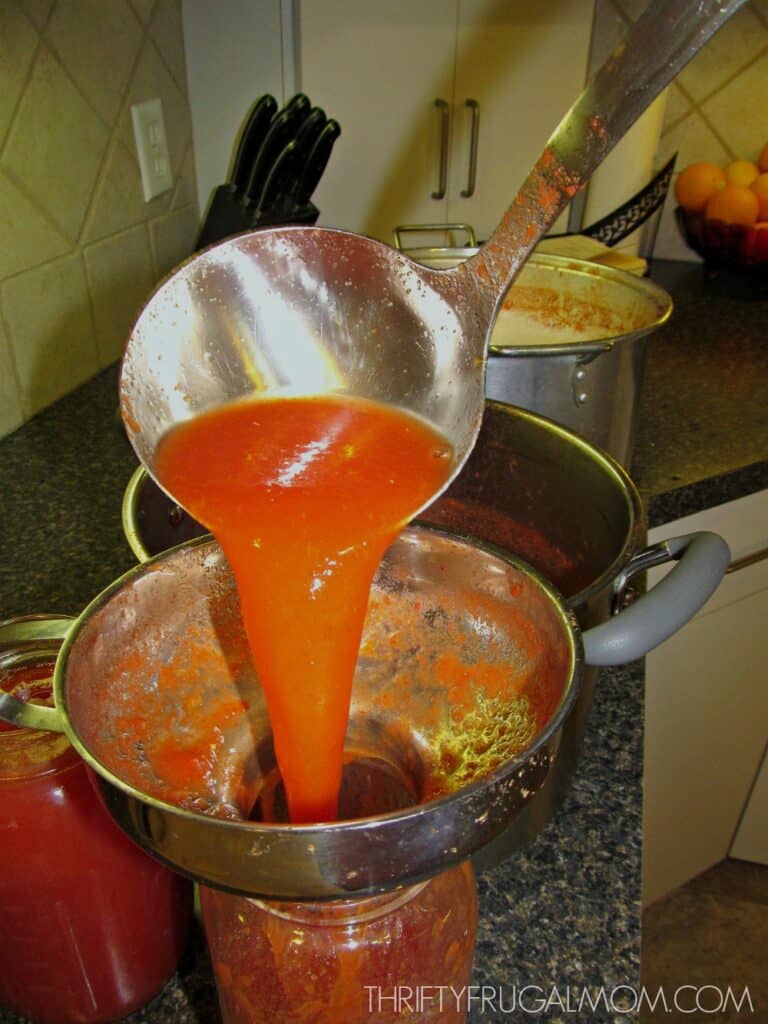
9. Good Ladle
My sturdy ladle gets a lot of use when I’m canning. It just makes filling jars so much easier!
If you don’t already have one, this ladle is really nice.
Expert Tips and FAQ for Canning Like a Pro
What can I use instead of a jar lifter?
Honestly, the safest way to move boiling hot jars is with a jar lifter, which you can get for fairly cheap.
But, if you are in a pinch, you can try using a set of tongs. Simply wrap several rubber bands around the ends of each tong to help grip the jars.
Always support the bottom of the jar when moving though. I like to use a thick rag or dishcloth to help do this safely.
Do I need a canning rack?
Most water bath canners come with racks, but yes you do need something in the bottom.
Not only does it help keep the jars from rocking against each other, but it also helps with water circulation, evens out the heat distribution, and helps to prevent the jars from cracking or busting.
If you don’t want to buy an actual canner, this canning rack that fit in a stockpot might be a good option.
Can jars touch when canning?
If you are pressure canning it’s okay for the jars to touch. But if you are using the water bath method they shouldn’t, which is also the purpose of the rack in the bottom.
How long do I boil my jars for canning?
For the jars to be considered sterilized, they have to be boiled in water and submerged for at least 10 minutes.
You don’t need to sterilize the jars if you are using a pressure canner or processing in a boiling water bath for 10 minutes or longer as they will get sterilized during the canning process.
You might also enjoy:


Ray bickham
How do i acquire thoes books that were back a few pagesRay
Lydia Beiler
Hi Ray, I’m really sorry, but I can’t think of any canning books that would be linked to.
Rae
Hi Lydia,
Thank you for this thoughtful write-up. One question – is a pressure cooker the same as a pressure canner?
Lydia Beiler
Hey, Rae! They are actually two different things. A pressure cooker is used to cook food rapidly but it doesn’t maintain enough consistent pressure to actually use it to can foods. The other difference is that pressure canners have a pressure gauge to help you be able to know exactly what pressure it is at, which allows you to be able to safely can things.