
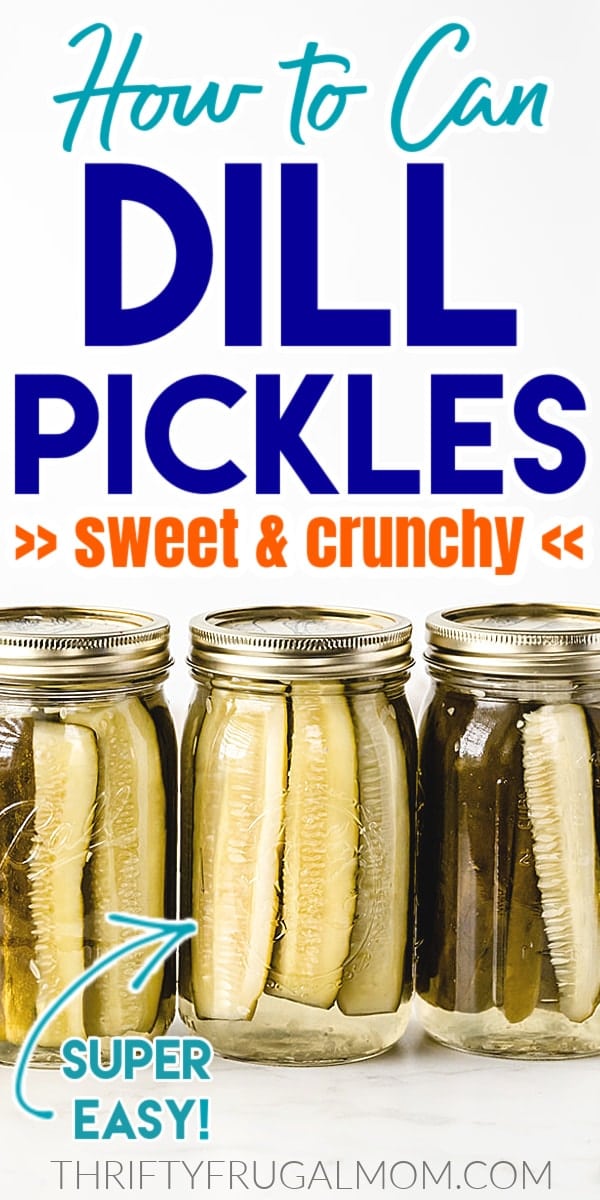
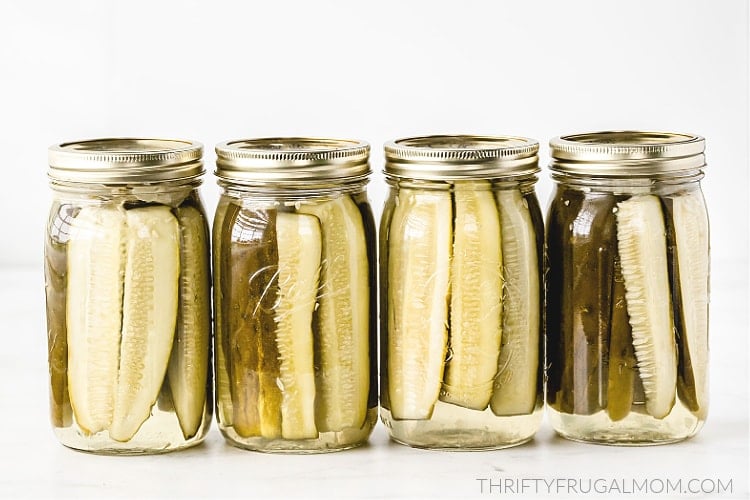
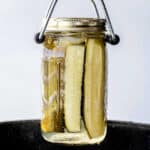
Learn how to make homemade Canned Dill Pickles with this easy step by step tutorial! You’ll love how crunchy and flavorful they are.
Dill pickles are one of my favorite things to can because they are so incredibly easy! And of course, they taste delicious too.
I was introduced to this particular recipe 10+ years ago by a friend who comes from a long line of home canners.
We were spending the weekend together and her mom happened to have a bunch of cucumbers in her garden that needed to be used. So my friend suggested that we make some dill pickles together!
I had always assumed that canning dill pickles was a difficult task, but I soon discovered that I was quite wrong. It was actually very easy and fun at that.
I went home that weekend with several jars of freshly canned dill pickles and a much loved recipe that I’ve continued to enjoy making.
Tips for getting crunchy dill pickles
Nobody likes a mushy pickle! One of the things that people always comment on when they eat these dill pickles is that they love how crunchy they are.
So how do you make sure you get a nice, crunchy pickle?
- Use fresh, firm cucumbers. It’s going to be hard to get a nice crunchy pickle from cucumbers that aren’t firm to start with. If possible, use pickles that have been picked no more than 48 hours before you are ready to use them. It also seems to help to use smaller pickles. For this recipe, you obviously will need longer cucumbers, but look for ones that are thinner and not super fat if possible.
- Cut off the blossom end. The end contains enzymes from the blossom that contribute to softening.
- Do not over-process. Turn the burner off as soon as the water starts to boil. Overcooking the pickles will lower your chance of ending up with a crunchy pickle.
- Measure accurately. If your brine is too weak, it can cause your pickles to turn mushy. Make sure you are being accurate and not just estimating when measuring!
How soon can you eat home-canned pickles and how long will they last?
Technically, you can eat the pickles right away, but the flavor won’t be that great. So it’s best to wait for at least 2 weeks and if you can have the patience, 4 weeks is even better as the flavors will have more time to develop.
And really, there’s no rush to eat them all at once. Home-canned pickles last for at least a year. After a year, the quality may tend to deteriorate a bit and you may notice that the pickles become less crisp.
But I’ve had pickles for as long as 2 years and they were still actually fairly decent.
Supplies for making canned dill pickles:
There are affiliate links in this post – please read my full disclosure policy. As an Amazon Associate, I earn from qualifying purchases.
- Crisp, fresh cucumbers, preferably around 6 in length (basically you want cucumbers about the length of your canning jar and the crisper the better!)
- Onions (regular onions, not sweet onions)
- Small to medium dill heads (also called dill flowers or dill umbels)
– If you don’t have access to dill heads, you can sub dried dill seed instead…1 tsp. equals one dill head.
– You can see pictures of dill flowere heads here, in case you aren’t sure what it is. - Salt (a lot of people prefer pickling salt, but I’ve always just used regular table salt or sea salt and haven’t been bothered by any cloudiness)
- White sugar
- White vinegar (5% acidity)
- Water
- Paring Knife (this is my favorite brand)
- Cutting board (love the juice-catching groove on this one)
- 2 Small kettles – one for heating brine and one for heating jar lids
- Fork or Lid Wand
- Quart Canning jars with rings and lids (wide mouth work the best since you can get the cucumber slices in more easily)
- Water bath canner or this Canning Rack may work depending on what size pot you already own
- Clean, damp cloth to wipe jar rims
- Jar lifter
- Old towels or rags to set the hot jars on
Recipe for Canning Dill Pickles- step by step instructions
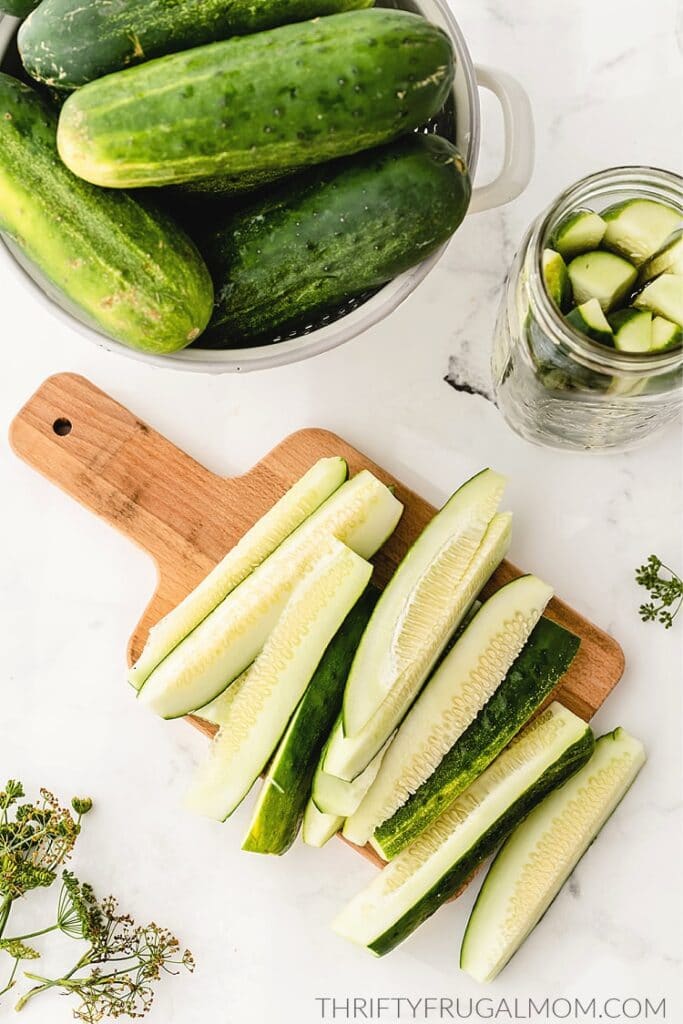
1. Start by cutting your washed cucumbers lengthwise into 1/2 in. spears. For most cucumbers, cutting them into quarters usually works well.

2. Fill four freshly washed quart canning jars with sliced cucumbers, leaving at least ½ in. head space (basically don’t let the pickle spears go past the neck of the jar). Pack tightly.
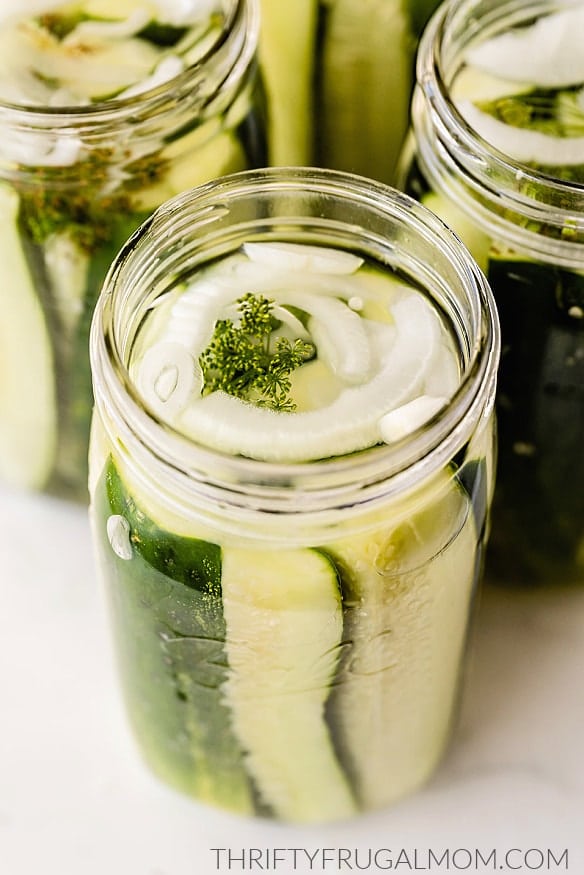
3. Add 2 tbsp. of sliced onion and a small head of dill to each jar.
If you don’t have access to dill heads, you can sub dried dill seed instead…1 tsp. equals one dill head. The flavor might be slightly different but various people have told me that it’s a good substitution and tastes almost identical.
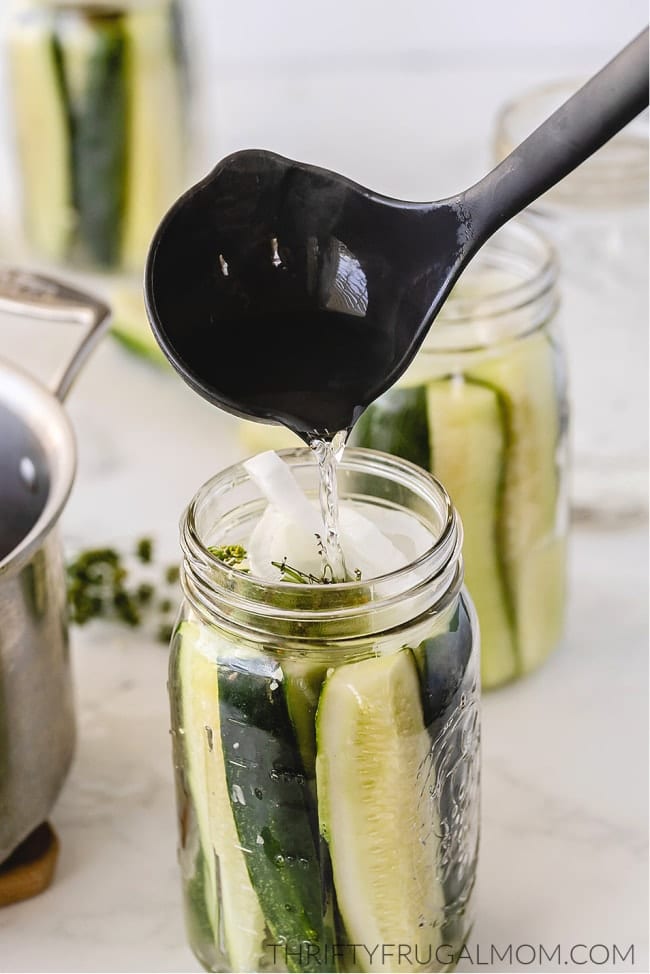
4. Make a brine for the pickles by combining 2 tbsp. salt, 2 cups of sugar, 2 cups of white vinegar and 2 cups of water in a kettle. Heat to boiling.
Divide the hot brine evenly between the 4 jars of cucumbers.
Add water to each jar until full, leaving ½ in. headspace.
5. Wipe the rim of each jar with a damp cloth to remove any cucumber or brine residue. (If there is even a slight bit of residue, it may not allow the jar to seal properly.)
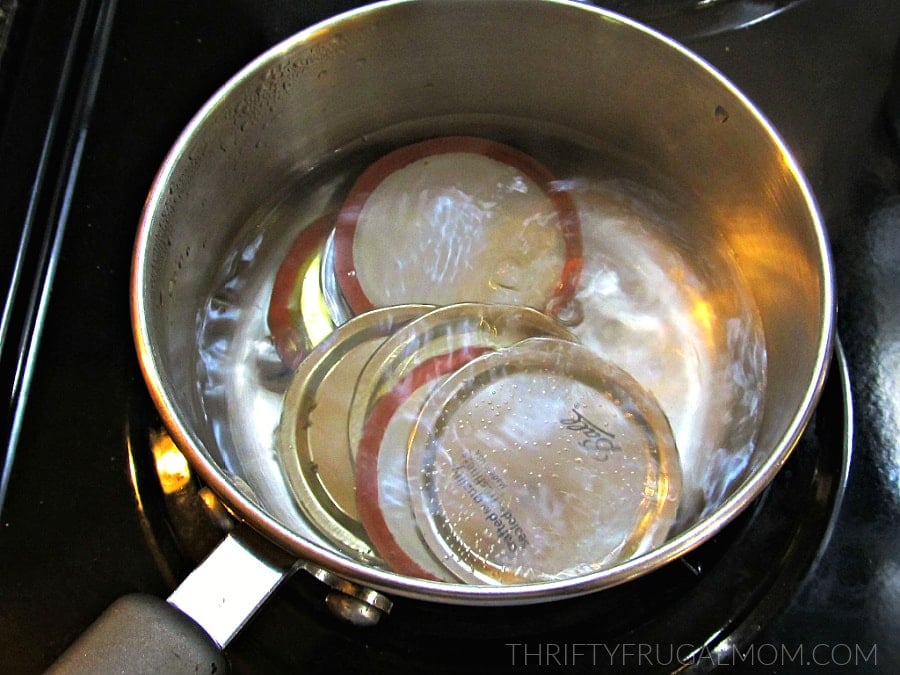
Place 4 metal canning lids in a small pan. Cover lids with water; bring to a boil.
Once the water boils, use a fork or lid wand to lift the jar lids out of the water- be careful not to burn yourself!- and place them on the jars. Secure each lid with a jar band/ring. (Heating the lids softens the rubber, allowing for a better seal.)
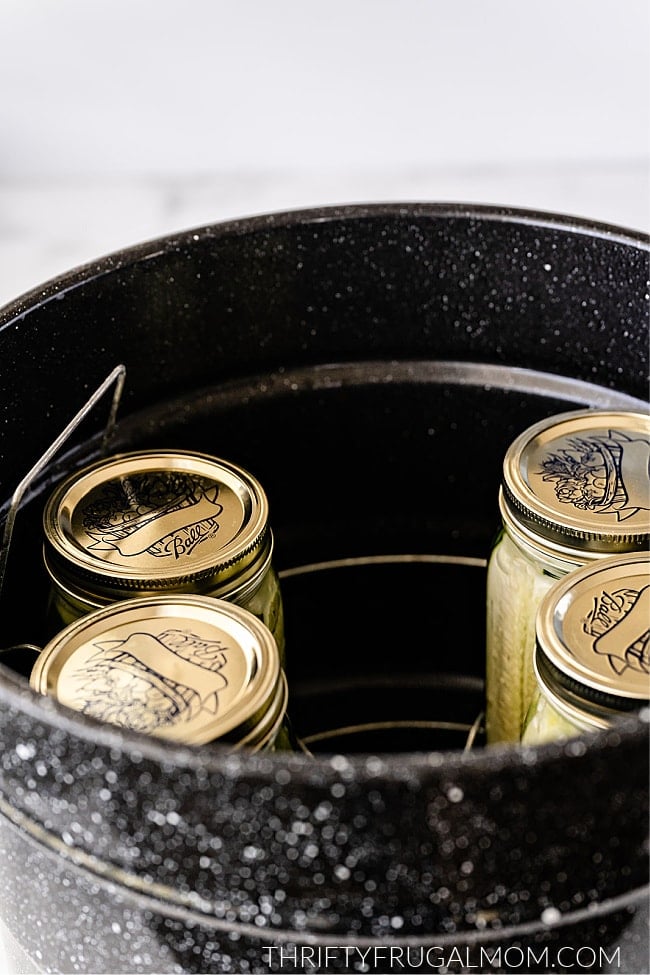
6. Place jars in the canner. Fill the canner with enough hot water to cover the jars by 1 to 2 inches. Turn the burner to medium-high heat. Bring the water to a boil, then turn off the burner and let the jars sit in the hot water until cool.
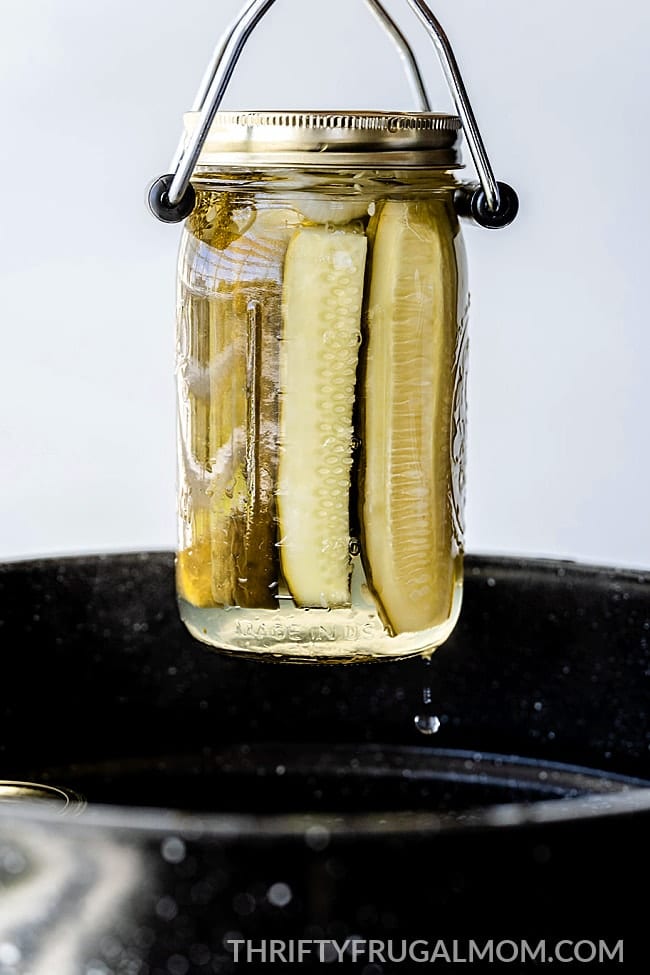
7. Remove jars from the canner using a jar lifter and check to make sure they are all sealed. Lids will be slightly concave when sealed.
To test the seal, once the jar has completely cooled, lightly tap the center of the cooled jar lid. If it is firm and does not move, it should be sealed. If it pushes in, it didn’t seal properly. You can still use any unsealed jars, just put them in the refrigerator and use them as soon as possible.
Remove the jar rings. For best flavor, allow to sit for at least 2 weeks before eating.
More canning recipes:
- Canning Diced Tomatoes – super simple and fun to make
- Making and Canning Tomato Juice – a great way to use up tomatoes
- How to Can Peaches – easy and delicious…you’ll love enjoying these all year long
- How to Can Homemade Applesauce – so much tastier than store-bought
Easy Canned Dill Pickles- sweet and crunchy!
Equipment
- Paring Knife
- Cutting board
- Fork or lid wand
- Quart canning jars with lids and rings
- Water bath canner
- Clean damp rag to wipe jar rims
- Jar lifter
- Old towel, blanket or other padded surface to put hot jars on
- Small kettle for heating brine
- Small kettle for heating jar lids
Ingredients
- Cucumbers, preferably around 6 in. in length (about 8-9 lbs?)
- 8 tbsp sliced onion
- 4 small dill heads (see notes!)
BRINE
- 2 tbsp salt
- 2 cups white sugar
- 2 cups white vinegar 5% acidity
- 2 cups water
Instructions
- Gently wash cucumbers to remove dirt and prickly bits. Trim off ends.
- Slice cucumbers into spears by cutting lengthwise into 1/2 in. slices (cutting into quarters usually works well).
- Fill 4 freshly washed quarts canning jars with sliced cucumbers, leaving about 1/2 in. headspace. Pack tightly.
- Add 2 tbsp of sliced onion and a small head of dill to each jar.
- Combine brine ingredients in a kettle and heat to boiling.
- Divide the hot brine evenly between the 4 jars of cucumbers. Add water to each jar until full, leaving 1/2 inch headspace.
- Wipe the rim of each jar with a damp cloth to remove any cucumber or brine residue. (If there is even a slight bit of residue, it may not allow the jar to seal properly.)
- Place 4 metal canning lids in a small pan. Cover lids with water; bring to a boil. Once the water boils, use a fork or lid wand to lift the jar lids out of the water- be careful not to burn yourself!- and place them on the jars. Secure each lid with a jar band/ring. (Heating the lids softens the rubber, allowing for a better seal.)
- Place jars in the canner. Fill with enough hot water to cover the jars by 1 to 2 inches. Put the lid on the canner. Turn the burner to medium-high heat. Bring the water to a boil, turn off the burner and let the jars sit in the hot water until cool, keeping the canner lid on.
- Remove jars from the canner and check to make sure they are all sealed. Lids will be slightly concave when sealed. To test the seal, once the jar has completely cooled, lightly tap the center of the cooled jar lid. If it is firm and does not move, it should be sealed. If it pushes in, it didn't seal properly. You can still use any unsealed jars, just put them in the refrigerator and use them as soon as possible.
- Remove the jar rings. For best flavor, allow to sit for 2 weeks before eating.
Notes
- Fresh Dill Substitute: If you can’t find dill heads, you can substitute one tsp. of dried dill seed for 1 dill head. The flavor might be slightly different, but people have told me that it’s a good substitution and tastes almost identical.
- Making Individual Jars: If you have additional cucumbers but not enough for another 4 qts. Simply add 1 to 2 tbsp. Sliced onion and 1 small head of dill to each jarful of cucumbers. To make the brine, mix ½ tbsp. Salt, ½ c. cup sugar, ½ cup vinegar and ½ cup water per jar. Process as usual.
- Shelf Life: Home-canned pickles are at best quality the first year after they are canned. As long as the canning lid is sealed tight, they are fine to eat after that as well, although the texture and color may deteriorate over time.

Ellen Proctor
I have been canning for 50 years and always use Apple Cider Vinegar becausmy husband says they taste better. Is there any reason to use only white vinegar?
Lydia Beiler
White vinegar is 5% acidity and I think that apple cider vinegar can be less acidic which could affect canning safety. I think if you just make sure your apple cider vinegar is 5% acidity, it could work? Obviously, the taste will be different but it sounds like you are already aware of that. And 50 years of canning? Amazing! I wonder how many quarts you have canned in your lifetime!
Mike
How cool are they when you take them out of the canning pot? You mention hearing the lid snap which I don’t think you will hear if they are submerged beneath an 1 to 2 inches of water
Lydia Beiler
Ah, good catch. I have several other canning recipes on my site and had copied that step from one of my other recipes. But you are right, with these dill pickles, I don’t hear it as they are in the water when they seal. I’ll edit the recipe now. And in answer to your question about how cool they are, they should be completely cool.
Linda
I’m in the process of making the pickles. My question is when I bring the the water bath up to a boil and put my jars in the canner do I leave it cover or uncover till they are cool.
Lydia Beiler
I’m sorry I didn’t see this sooner! You leave the canner lid on until the canner is cool. Sorry that wasn’t more clear! I’ll try to update the recipe to make it more explicit. I hope they turn out well for you!
Patty Groenenboom
Have you ever made these pickles in chunks instead of spears? I made 6 quarts yesterday in spears and anxiously waiting for the 2 weeks when I can taste them.
Lydia Beiler
I haven’t, Patty! And I don’t know if it would make them more susceptible to getting mushy or not. But you would always try a jar that way and see what you think!
Emilie
In your instructions you say to bring the water to a boil then turn off and leave the jars inside until cool. However you do not say how long you process them for….unless….the processing in the canner is just bringing the water to a boil and leaving the jars in until the water has cooled down. Which I’ve never heard of but thought I’d ask because most recipes have a processing time.
Lydia Beiler
You are right, it is unusual. But for this particular recipe, you do nothing more than bring it to a good rolling boil and then turn it off and let it set until cool. These pickles always stay crunchy for me and I think this process is the key to that.
Elizabeth Leslie
I just made this recipe and water bath canned it, I used fresh dill heads- should they have been dried??
Lydia Beiler
No, fresh is what you want! I hope they turned out well and that you enjoy them, Elizabeth!