Thrifty Frugal Mom

Where food, family and finances meet.

  • Home
  • Welcome!
    • Contact
  • Frugal Living
    • Money Saving Tips
    • Frugal Gift Ideas
    • Meal Plans: What We Eat on $200 a Month
    • Our $200 Grocery Budget {Series}
    • Our $200 Grocery Budget: What I Spent & Saved
  • Frugal Recipes
    • Main Dishes
    • Soups
    • Make Your Own
    • Desserts
    • Snacks
    • Beverages
    • Canning & Freezing
  • Homemaking
    • Frugal Remodeling | Home Decor
    • Organization
  • Family
    • Baby
    • Kids

Super Easy Homemade Yogurt (made in the oven!)

by 25 Comments

Pin1.1K
Tweet
Share32
Yum
Email
1.1K Shares
Jump to Recipe Print Recipe

Learn how to make homemade yogurt in your oven, no special equipment needed. It’s super easy and delicious and will save you money too!
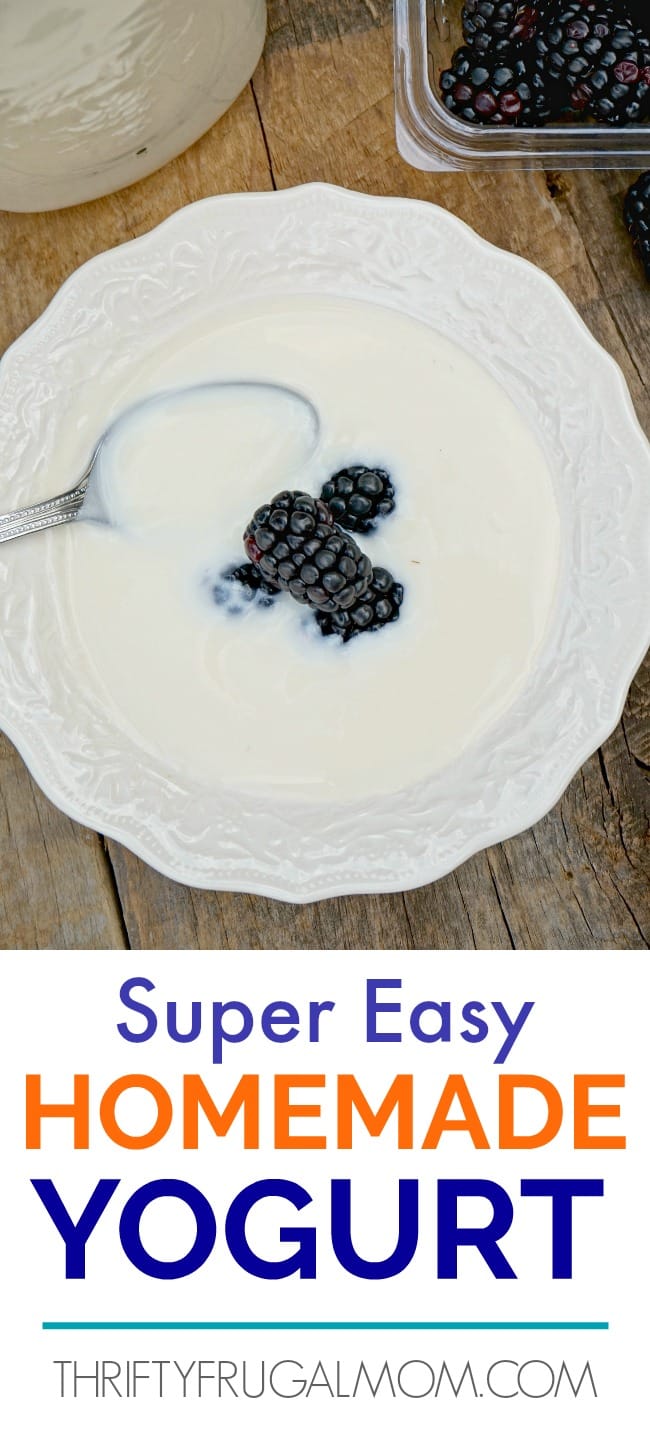
homemade yogurt in oven

There are affiliate links in this post. If you use these links, I may earn a commission- please read my full disclosure policy.

You all, I’m so excited to finally show you all how to make homemade yogurt from scratch!  So many of you have emailed me or messaged me asking for my easy homemade yogurt recipe after seeing it on my menu plans.  And if you are one of the people waiting for me to post it…thanks for your patience!  🙂

I’ve been making homemade yogurt for at least 8 years now and we eat so much of it that I cringe to think how much it would cost us if we started buying store bought instead of using homemade!

The thing I love about this recipe- besides that fact that it’s super cheap and saves us money- is that the method used for the yogurt making process is very simple and basic.  You don’t need any fancy equipment and there’s a good chance that you already own all the things that you need to get started making your first batch of homemade yogurt!
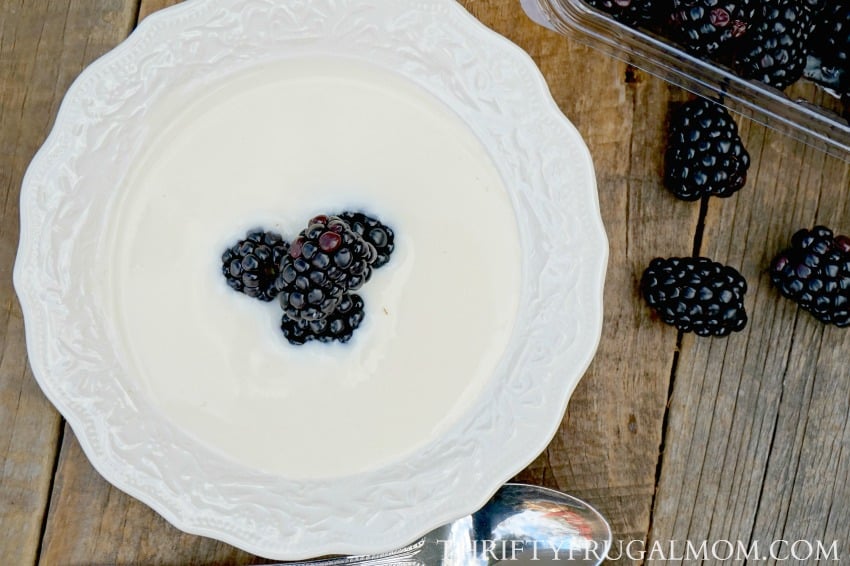
how to make yogurt in oven

YOGURT MAKING TIPS

Making homemade yogurt isn’t difficult, but there are a few things that are helpful to know before you get started.

Milk
You can use any type of dairy milk to make homemade yogurt (including raw milk!), although whole milk will produce the thickest, creamiest yogurt.

Yogurt for Starter
To get your milk to culture and become homemade yogurt, you will actually need to add a bit of yogurt to it.  You can use regular or Greek yogurt as long as it lists “Live Active Cultures” in the ingredients or on the container.  That culture is what will make the milk turn into yogurt.  It’s best to use unflavored yogurt for this, although I have occasionally used vanilla flavored yogurt and it’s worked okay too.

Gelatin
You can actually make homemade yogurt without adding the gelatin if you want.  Adding it just thickens the yogurt a bit and makes it less runny and we prefer the consistency of the yogurt with it in.

Culture Time
My recipe says to culture the yogurt for 8 hours.  You can actually adjust that time if you prefer.  Basically, you need to let it culture for at least 4 hours for it to become yogurt.  

The longer yogurt sits and cultures, the thicker and more tart it becomes.  We love the taste and tartness of 8 hours, but feel free to play around with it.  And if you are like me and put the yogurt in the oven to culture overnight while you are sleeping and you happen to sleep longer than 8 hours, stay calm- it will still be good!  It just might be a bit more tart than usual!

Greek Yogurt
If you are a fan of Greek yogurt, you can make yogurt using this recipe and then just strain it.  Straining it will drain off the whey, leaving you with a thicker, denser Greek style yogurt.  (Most people like to use cheesecloth to do the straining.)  If you strain it, you’ll obviously end up with less yogurt as well as whey.  If you aren’t sure what to do with the whey, Google it!  There are lots of great uses for it!

Alright, are you ready to get started?  Here’s my easy step by step process to make yogurt!

making yogurt in the oven

Super Easy Homemade Yogurt (made in the oven!)

Print Recipe
4.88 from 8 votes

Super Easy Homemade Yogurt (made in the oven!)

This homemade yogurt is made in your oven, no special equipment needed. It's super easy and delicious and will save you money too!
Prep Time1 hr
Cook Time8 hrs
Total Time9 hrs
Servings: 4 1/2 quarts
Author: ThriftyFrugalMom.com
Prevent your screen from going dark

Ingredients

  • 2 qt. milk
  • 1/2 c. sugar*
  • 1 Tbsp. unflavored gelatin
  • 2 Tbsp. (heaping) unflavored yogurt** (must contain Live Active Cultures)
  • 1 Tbsp. vanilla

Instructions

  • Mix gelatin into 1/3 c. cold water. Let set.
  • Using medium heat, heat milk to 190 degrees, stirring occasionally. 
  • Remove from heat and add gelatin, sugar and vanilla. Whisk well.
  • Cool to 130 degrees.
  • Add commercial yogurt and stir well with a wire whisk.
  • Pour into 2 quart jars (or whatever containers you want to use); screw on lid.
  • Place in oven close to the oven light. Turn oven light on and close the oven door. Let set for 8 to 10 hours.
  • Remove from oven and refrigerate.

Notes

* I often use raw sugar to make it healthier.  But you can omit the sugar altogether if you’d like. You may especially want to do this if you plan to stir in jelly, pie filling or jello as detailed below.
** Once you have some of your own homemade yogurt, you can just use that for your starter yogurt instead of the bought yogurt. I usually buy yogurt approximately every 12 times to use as a starter, since it does seem that after a while the yogurt just doesn’t get quite as good.
SERVING SUGGESTIONS:
To add flavor, stir in fruit (whole or blended), jelly, pie filling or dry flavored jello.

PIN IT FOR LATER:
easy homemade yogurt

OTHER DELICIOUS RECIPES YOU’LL ENJOY:easy basic homemade granola

Flourless Double Chocolate Muffins

Pin1.1K
Tweet
Share32
Yum
Email
1.1K Shares

Filed Under: Desserts, Other, Recipes

« 4 Everyday Items That Will Help Organize Your Home On a Budget
The Best Frugal Living Posts from 2016…and what to expect in 2017 »

Comments

  1. Linda says

    January 12, 2017 at 10:02 AM

    5 stars
    Hi!
    I made your yogurt and OMG! It is delicious.! There are many recipies for homemade yogurt using one’s crockpot but I prefer your method.

    Reply
    • ThriftyFrugalMom says

      January 12, 2017 at 2:00 PM

      Whohoo! So happy to hear it! 🙂 And yes, I find the oven method SO much easier and less hassle than anything else….other than maybe an Instant Pot. I just got one of them and am experimenting making yogurt with it, although I’m still trying to decide if I think it’s better than this method. But the beauty of this method too is that you don’t have to go spend money on another kitchen appliance!

      Reply
      • Crystal says

        September 26, 2020 at 11:27 AM

        I was wondering if you could help me out. I did your recipe for yogurt. Thr bottom 1/3 is yogurt like but the rest of thr jar is liquid. What did i do wrong?

        Reply
        • Lydia Beiler says

          September 26, 2020 at 12:08 PM

          Oh no! I’m sorry. It’s so frustrating when a recipe flops. I am not sure exactly what went wrong, but it sounds like maybe it wasn’t warm enough to incubate properly? I Googled a bit and came across this thread. It sounds like she had good success trying to incubate the yogurt again. Perhaps try that?

          Reply
  2. peg says

    April 25, 2017 at 9:54 PM

    Hello,
    How long will this keep in the fridge? Can I freeze it? Thank you

    Reply
    • ThriftyFrugalMom says

      April 25, 2017 at 10:51 PM

      We usually eat ours within 2 weeks, but pretty sure I’ve had it in our fridge for as long as a month and it was fine. Freezing it would totally change it’s consistency, although I’ve wanted to try freezing a little bit to see if it would make kind of a popsicle type of thing. But I’ve never tried it. I do know that if you freeze it and want the same yogurt texture once it thaws, it won’t work.

      Reply
  3. Lisa says

    May 12, 2017 at 10:15 AM

    About how long does it take to heat and then cool the milk to these temperatures? I currently make my yogurt using a crockpot and need to heat the milk for 3 hours then cool for 3 hours before adding the culture and letting it incubate overnight so that means starting the process around 3:00 in the afternoon to have it ready for the evening. Does this method take that long? I would love to try it!

    Reply
    • ThriftyFrugalMom says

      May 14, 2017 at 10:43 PM

      I’m not entirely sure because it depends on how high you turn your burner to heat the milk and whether you have a gas or electric stove and then for cooling, it depends on how hot or cool your house is. But on average, I’d say it takes maybe 30 min. to heat the milk and then an hr. at most to cool it. If you want to speed up the cooling process, you can always put the kettle in cool water to lower the temp more quickly too. At any rate, I know that it definitely doesn’t take anywhere close to 3 hrs. for either step! So, hopefully that helps.

      Reply
      • Lisa says

        May 16, 2017 at 1:34 PM

        Thank you!

        Reply
  4. Lisa says

    May 19, 2017 at 6:38 PM

    5 stars
    I made yogurt today using this recipe and I love it! It only took a total of 1 hour for the heating and cooling process- no more waiting 6 hours on the crockpot! I love that I can make it in the morning, put it in the oven and forget about it ’til evening. Next time I’ll make a double batch because we like our yogurt really thick so I always strain it which of course leaves less yogurt. Thanks again for sharing this great recipe!

    Reply
    • ThriftyFrugalMom says

      May 29, 2017 at 11:10 AM

      So glad that it worked so well for you! Isn’t it fun when you can find ways to save time on things like this?

      Reply
  5. Donna says

    January 9, 2018 at 6:59 AM

    I do not own a thermometer yet! Is there one you would recommend?

    Reply
    • ThriftyFrugalMom says

      January 10, 2018 at 12:25 AM

      This is the thermometer that I’ve used for years. I like that it can clip on the sides and is inexpensive. But you do have to watch how you handle it since it’s glass and more fragile. I’ve thought of getting a digital one but… 🙂 Hope that helps!

      Reply
  6. Sarah says

    April 22, 2018 at 11:23 PM

    My oven doesn’t have a light on it. Do you have to have an oven light to make this recipe?

    Reply
    • ThriftyFrugalMom says

      April 23, 2018 at 12:06 AM

      I’m sorry, but you do. The light is what keeps the yogurt at the warm temperature that it needs to be at to culture.

      There is another method that I know some people use. Basically you do steps 1-5 but then to culture the yogurt you pour hot water (about 120 degrees in temp) into a big cooler and fill it until the water is high enough to go about halfway up a quart size jar. Then you ladle the hot yogurt into jars/containers and put lids on them. Place the jars into the cooler with the water. (Again, the water should come about half way up the containers that you choose to use for you yogurt.) Close the cooler and cover it with a big blanket or a couple of towels to help insulate it. Let sit for 8 to 10 hours, then remove and refrigerate.

      Hope that helps!

      Reply
  7. Kim Taylor says

    January 31, 2019 at 5:18 PM

    We’ve been making this for about 4 months. Saved at least $50 a month in greek yogurt expenses. We accidentally changed the recipe and it has worked consistently. We add the sugar and gelatin with no water at the beginning. Then when it cools, we add the starter yogurt and the vanilla. So far, it turns out great and is just a little thicker. https://www.pinterest.com/pin/666462444835257013/

    Reply
    • ThriftyFrugalMom says

      February 27, 2019 at 3:53 PM

      So glad to hear that you all have been enjoying this Kim! And that’s some impressive yogurt savings too. Don’t you love when you find an easy way to make your own favorites for so much less? Thanks too for the tip about sugar and gelatin. I always assumed that it would stick the bottom of the pot and cause it to burn. Interesting that you haven’t had that happen!

      Reply
  8. Laura says

    January 12, 2020 at 5:23 PM

    5 stars
    I love your yogurt! There’s always some in my fridge. 🙂

    Reply
    • ThriftyFrugalMom says

      January 16, 2020 at 6:51 PM

      So glad you like it, Laura! A permanent place in your fridge is high flattery. 🙂

      Reply
  9. Katie says

    April 9, 2020 at 10:55 PM

    5 stars
    This is such a great recipe! It is easy, simple and delicious. I love that the yogurt has the same consistency as store bought yogurt. Thanks for sharing!!!!

    Reply
    • Lydia Beiler says

      April 15, 2020 at 12:01 PM

      Thanks for the feedback, Katie! So happy to hear that you love it. And yes, the consistency of this yogurt is one of the big things that sold me on it too!

      Reply
  10. Joanne says

    July 20, 2020 at 1:55 PM

    We usually eat fat free yoghurt and need to avoid the processed sugar. Have you tried making fat free yoghurt without sugar using this method?

    Reply
    • Lydia Beiler says

      July 21, 2020 at 12:13 PM

      It definitely wouldn’t be fat free, but you can easily make this recipe without the sugar if you prefer that.

      Reply
  11. Mia O. says

    September 10, 2020 at 1:41 PM

    5 stars
    I’m making this for the second time now. The first time turned out great! The best part is being able to start off with the specific brand of yogurt we like best. The result tasted exactly the same. Saves us a ton of plastic waste and money. They only other yogurt I could get in glass jars cost $6 / quart! Even though I’m buying expensive milk in glass jars at $5 for a half gallon, it still cuts my cost to $2.50 per quart. Less than half the cost. We’re saving over $30 a month on yogurt, not to mention all the extra waste avoided.
    Our oven light is in the side corner. Since I want the yogurt in several small jars, it meant that some jars were closer to the right and got more “done” than others. Later I found the “bread proofing” trick online. The bread proof setting keeps the oven right at 100 degrees F. I’m trying that this time. Wanted to share in case anyone else has a funky oven light.
    As a note, I made it completely plain with no additives since that’s what we usually buy from the store.
    Thank you for the great recipe!

    Reply
    • Lydia Beiler says

      September 17, 2020 at 6:52 AM

      Mia, thanks so much for taking the time to comment and rate this recipe! I’m so happy to hear that it’s helping you save money and reduce waste! And I never knew there was a bread proofing setting on ovens. Good to know! Hopefully, that will help out other readers too!

      Reply

Leave a Reply Cancel reply

Your email address will not be published. Required fields are marked *

Recipe Rating


Welcome! I’m Lydia. I love to share easy homemade recipes, simple homemaking tips and great money saving ideas. I want to help you find ways to live well and enjoy life on a budget! Read more…

  • Email
  • Facebook
  • Instagram
  • Pinterest
  • Twitter

Built on the Genesis Framework · Powered by WordPress · Privacy Policy