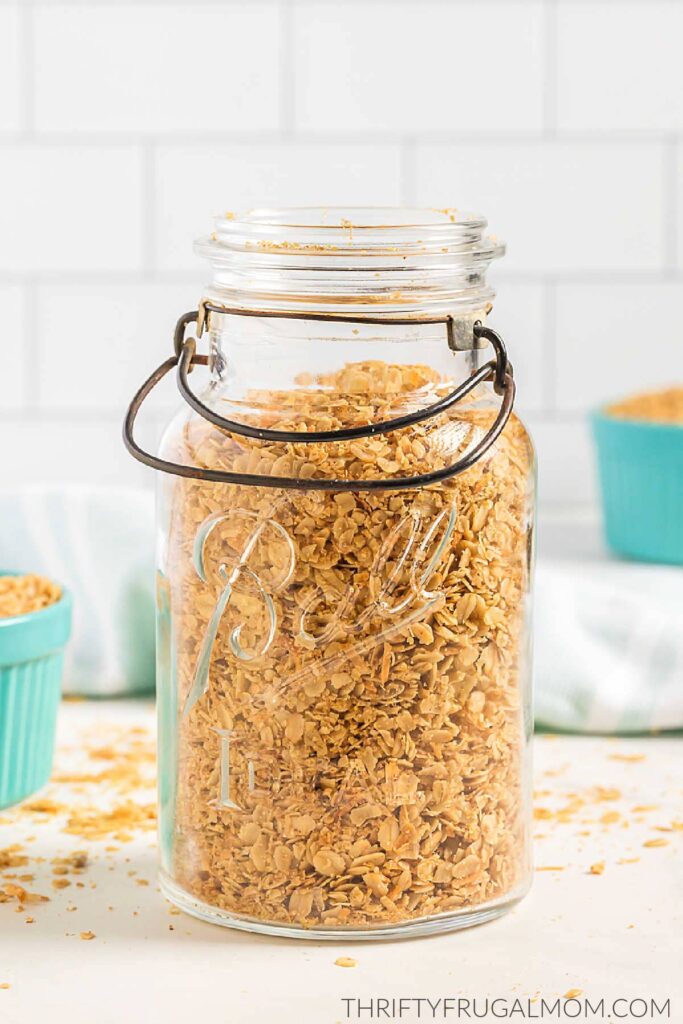
This super easy homemade granola recipe is perfect for a healthy breakfast, snack, or parfait! I love that it uses only basic pantry ingredients and takes just minutes to mix together. And it freezes well too!
There are affiliate links in this post – please read my full disclosure policy. As an Amazon Associate, I earn from qualifying purchases.
I first started making this simple granola recipe for my husband back when we were dating, over 15 years ago.
He lived by himself at the time and had to make all of his own meals. He’s very much a minimalist and it definitely showed in the lack of variety of the foods that he ate! 😉
I lived several hours away so I couldn’t help too much with preparing food for him, but I discovered that he really liked granola and knew I could make that fairly easily.
So one week I dug through my mom’s cookbooks looking for a granola recipe to try. When I happened across this very basic, easy recipe in an old, trustworthy church cookbook that I often used, I knew I had to give it a try.
It was a hit with my then-boyfriend, now turned husband and I’ve been making it ever since!
WHY I LOVE THIS EASY GRANOLA RECIPE
- Budget-Friendly. Making granola at home using this recipe is much cheaper than store-bought varieties.
- Simple Ingredients. I love that this recipe is made with simple, frugal ingredients, most of which you probably often have on hand.
- Easy to Make. It’s as simple as mixing everything up together in a big bowl and then baking it. Easy peasy.
- Less Snacking. This granola is packed with protein and a bowlful will keep us full until lunchtime.
- Versatile. This recipe is easy to tweak to fit your preferences. Switch out the add-ins and enjoy different versions every time! It also makes delicious homemade parfaits.
- Freezes Well. This makes a large amount of granola. If you don’t think you’ll eat it all in a couple of weeks’ time, you can freeze it and have it on hand for any easy breakfast or snack anytime you want!
Watch Video: Learn How to Make this Recipe
EASY GRANOLA INGREDIENTS
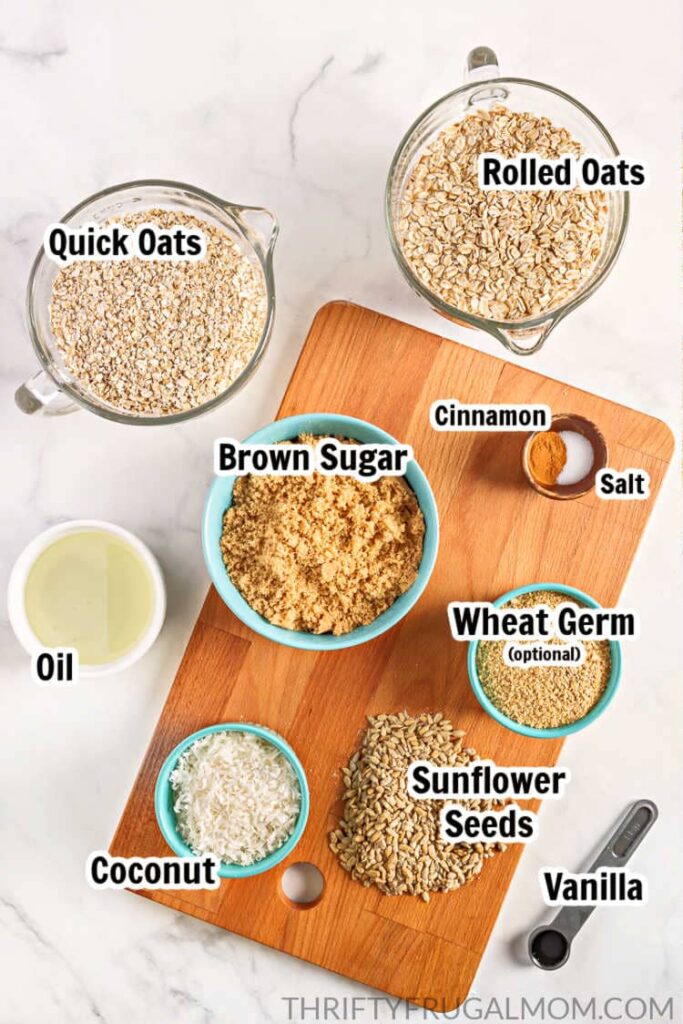
- Oats. I like the texture that rolled oats give to granola, so I use a blend of rolled oats and quick-cooking oats. You can use your favorite as long as the total amount being used is equivalent to 16 cups.
- Brown Sugar.
- Wheat Germ. This ingredient is optional but I like adding it because it’s a nutritional powerhouse. It doesn’t change the taste at all, which is great as my kids don’t even know they are consuming something so healthy!
- Coconut Flakes. Sweetened or unsweetened will work.
- Sunflower Seeds or Nuts. You don’t have to add these, but again, they add lots of nutrition and the crunch is a nice touch.
- Salt.
- Cinnamon.
- Oil. If you don’t have canola or vegetable oil, you can substitute with melted butter. Coconut oil is also a great option!
- Vanilla.
HOW TO MAKE HOMEMADE GRANOLA
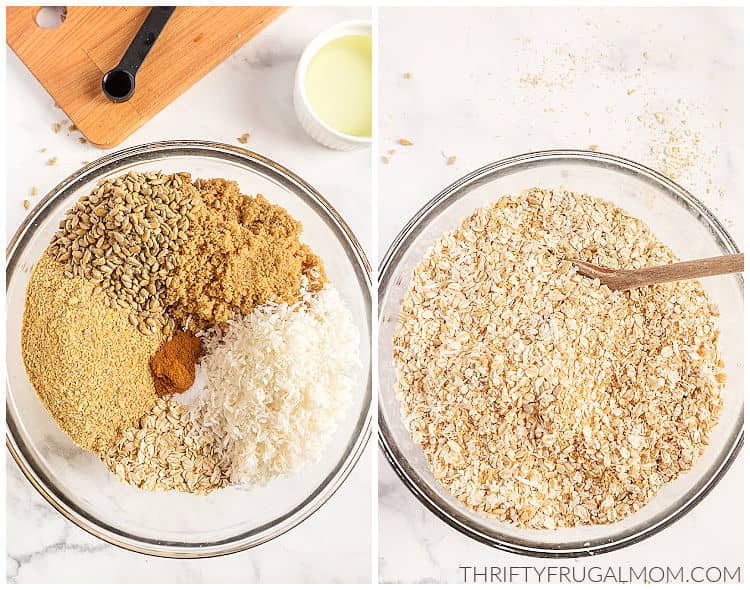
STEP 1: Combine all of the ingredients except for the oil and vanilla in a large bowl.
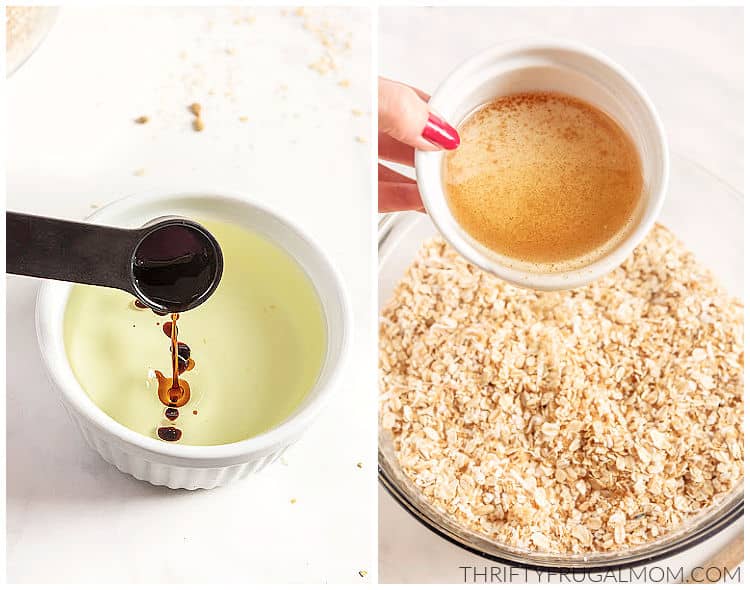
STEP 2: Pour the vanilla into the oil, then add to the large bowl with the other granola ingredients. Mix it well.
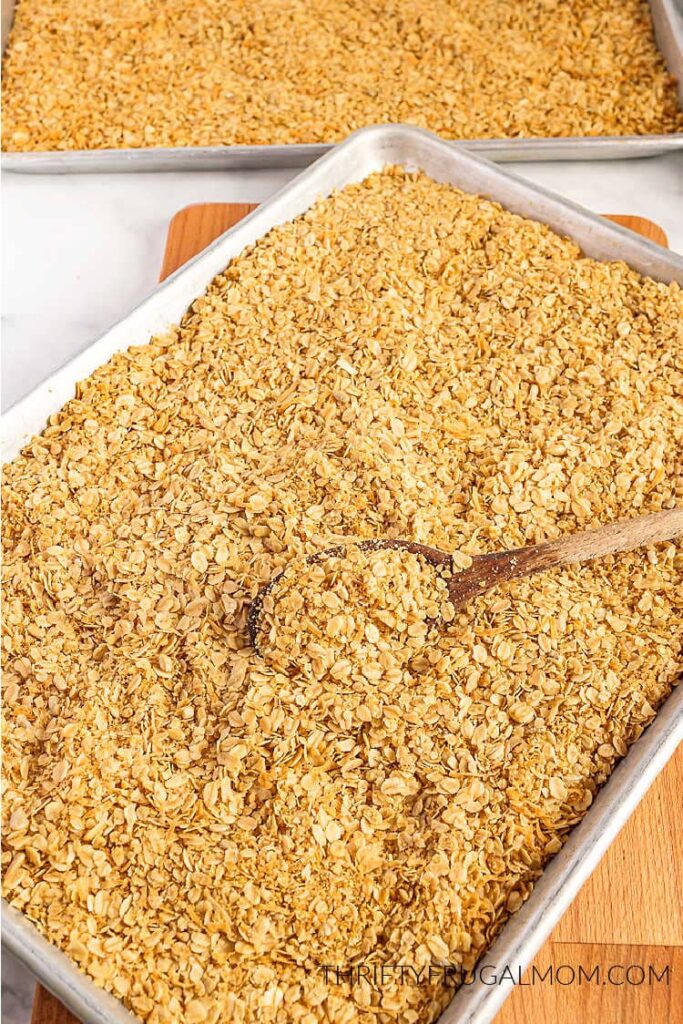
STEP 3: Spread the granola mixture into oven-safe pans and bake at 250 degrees until it’s lightly browned, stirring occasionally.
STORING AND FREEZING DIY GRANOLA
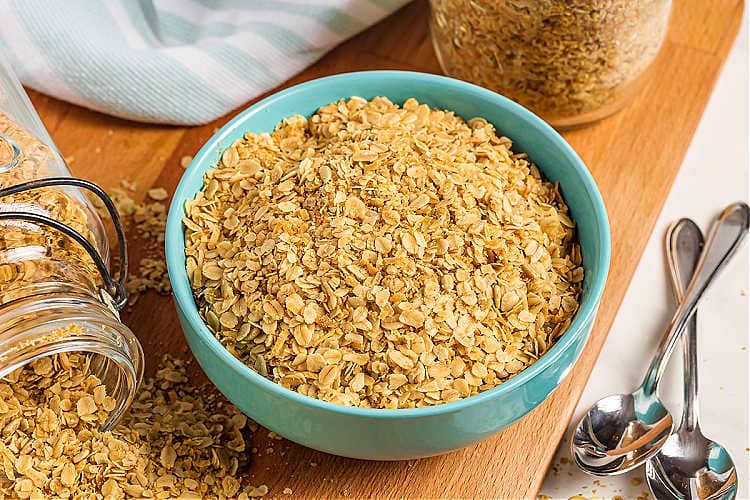
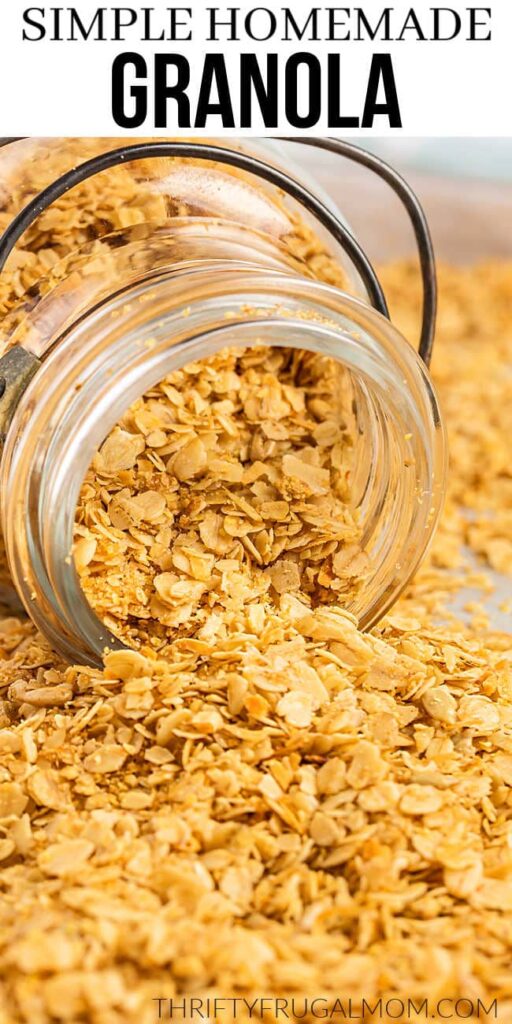
Once it has cooled, store it in an airtight container at room temperature for up to 14 days.
If you decide you want to freeze it, add it to a freezer-safe bag or container, and it will stay fresh for up to 3 months.
EXPERT TIPS AND SUBSTITUTIONS
Chunky Granola. If you want it a little chunkier, use 2/3 cup of honey mixed with 2 cups of brown sugar versus the 3 cups listed in the recipe care. I like to mix the honey with a little oil before adding it in to make it combine nicely with the other ingredients.
Gluten-Free. Use gluten-free oats and omit the wheat germ.
Add-Ins. Toss in some butterscotch chips, white (or other) chocolate chips, nuts, or dried fruit. If you want to use the chips, you can also add those while the granola is still warm so they melt, which is really tasty.
Easy Cleanup. I love to mix up the ingredients in a large roasting pan. Then I just bake the granola in the roasting pan as well, which saves me a few dishes!
Individual Servings. No matter if you are going to serve granola as a snack or for breakfast, portion them out into individual containers or bags to make it a grab-and-go option.
Serving Suggestions. Granola goes great with milk (like cereal), is delicious in parfaits and yogurt bowls, can be mixed in with nut butter, served over baked fruit, and can even be an ice cream topping!
MORE EASY BREAKFAST RECIPES YOU’LL LOVE
- Chocolate Chip Baked Oatmeal
- Super Easy Chocolate Granola
- Healthy Double Chocolate Muffins
- Cinnamon Sugar Mini Donut Muffins
Easy Homemade Granola
Ingredients
- 8 cups quick oats
- 8 cups rolled oats (see Notes below)
- 1 ½ to 3 cups brown sugar (see Notes below)
- 2 cups wheat germ optional
- 2 cups coconut flakes
- 1 cup sunflower seeds or nuts optional
- 2 tsp. salt
- 2 tsp. cinnamon
- 2 cups canola, vegetable or coconut oil or melted butter
- 2 tsp. vanilla
OPTIONAL ADD-INS – add once cooled
- raisins, chocolate chips, peanut butter chips, butterscotch chips, Craisins, dried apricots
Instructions
- Mix everything but oil and vanilla in large bowl. (I like to mix it in my roasting pan and then just bake it in that).
- Add vanilla to oil, then add to dry ingredients. Mix well.
- Pour into oven safe dishes (if you don’t have a large roasting pan, cake pans work well) and bake at 250 degrees until lightly browned, stirring occasionally.


Chris Traina
Assuming coconut is dried coconut flakes?
ThriftyFrugalMom
Yes, you are right! I’ll try to update the post making it more clear.
Kelli Coffin
Sweetened or unsweetened coconut?
ThriftyFrugalMom
I’ve used both actually, and don’t really notice a big difference in taste either way. If you use sweetened and are concerned that it will be too sweet, you can always cut back on the brown sugar a little.
Judy
Thanks for the recipe. I have been looking for a good cereal.
ThriftyFrugalMom
You are very welcome, Judy! Hope you enjoy it as much as we do. 🙂
Susan
What add ins do you usually use?
ThriftyFrugalMom
Lately we’ve been on a binge of just making it plain, without any add-ins. But in the past I’ve done Craisins and raisins a lot and once in a while butterscotch or chocolate chips. With the chocolate and butterscotch chips, if you want you can stir them in when the granola is still slightly warm and they’ll obviously melt a bit, which is good. I know people that also add chopped nuts to the granola before they bake it. I like the taste of that, but am always too cheap to do it myself. 😉
April
Dumb question, you serve this with milk or in yogurt right? Thanks!
ThriftyFrugalMom
You are absolutely right, April! This is eaten like cereal with milk or you can use it to make parfaits and add yogurt and fruit.
Renee
How long do you bake it at 250 degrees? I’m thinking about giving your recipe a try, I love granola. Plus your recipe is simple enough for my kids to follow along…then maybe we can make this to give away for the holidays. Thanks ?
ThriftyFrugalMom
The baking time varies on what size dish you bake the granola in and also how brown you like it to get. I bake my granola in a big roaster pan and so it takes longer than it would if I would use a couple of cake pans instead since they are more shallow. If you use cake pans, I would guess maybe an hour? As long as it looks lightly browned and isn’t wet anymore from the oil, you should be good. If you use flake coconut you can also tell if the granola is done by seeing that is crumbly and dried out. It really is hard to totally botch….some of my batches are baked longer than others and more brown but unless you forget to stir it and leave it in for hours and hours and it burns, you should be fine.
And yes, this recipe is a great one for kids to make. Our son started making it all by himself when he was 7 years old and has become my faithful granola maker. And I love the idea of using it for gift giving. So fun and personal!
Lindsay
Curious roughly how long it takes to get golden brown in a large roasting pan (uncovered, right?).
ThriftyFrugalMom
Hmmm….not sure. It partly depends on how deep the roasting pan is and how often you stir it, but I would say roughly an hour maybe two? It probably sounds strange, but I honestly just put it in, stir it when I think of it and take it out when I happen to check it and it looks right. Because it is baked on such low heat, it’s pretty forgiving and doesn’t burn easily at all (unless you bake it in a super shallow pan). And because of my haphazard way of baking it and checking on it, sometimes it’s a little more brown than others, but it’s always yummy!
Oh, and yes, you should bake it uncovered!